Plant Care Essentials

Table of Contents

Day-to-Day

Copper coloured watering can

Watering Can

I’ve used a metal watering can since 2020, and still love it. I used to water with a measuring cup, but I find the long spout on a watering can easier for precision and even watering. I also didn’t want a larger can since it can get heavy when full of water. See my watering can in action in this video.

AIFUDA 6 Pcs 2.5 Inch Bamboo Round Plant Saucer and 6 Pcs 4.3In Plastic Plant Flower Pot Drip Trays for Indoor Outdoor Garden

Plant Trays

Probably the number one way people kill plants is overwatering. It’s easy to do. Everyone wants to make sure their plant is hydrated, but if you water your plant from the top, and the pot doesn’t have drainage holes the plant will eventually get root rot and potentially die. 

I keep a lot of my plants in nursing pots since they have a lot of drainage holes, and allow me to bottom water my plants and avoid root rot.

When you place your plant in a plant tray and fill it with water, your plant absorbs the water through the drainage holes at the bottom. I’ve linked the ones I use regularly (you can see them in this video). 

Humidifiers

I have 3 different humidifiers: my main one in the living room for the majority of my plants, a smaller one in the bedroom, and a desktop one for more localized humidity.

For my larger plants, I use pruning shears to cut off any yellowing leaves, or leaves infected by pests. For my smaller plants, I just use some clean kitchen scissors as the shears are too big. For thick stems, you definitely want a pair of shears. I’ve also had these shears for three years with no problems. You can see me use shears in this video.

kitchen scissors black and orange

Kitchen Scissors

Like I mentioned above, for my smaller plants, I use some clean kitchen scissors as the shears are too big. I use the scissors that came with my knife block, but if you are buying them just for this purpose, I would buy these ones. You can see me using scissors in this video.

neem oil now

Homemade Insecticide

I use this on a very regular basis. A lot of pests are hard to see with the naked eye until they are a problem, so I will use my homemade insecticide on my plants while wiping my plants leaves. I either spray the plant itself or spray a bit of paper towel so it is damp and wipe the leaves. If I have pests, I also use the homemade insecticide to kill them. The recipe I use is (1 spray bottle, 1 tbsp dish soap—not dish detergent, filtered water, 1 tsp neem oil). I prefer using a homemade insecticide because I can be a bit sensitive to chemicals, and certain pests can build up a tolerance to manufactured insecticide

microfiber plant dusting gloves

Microfiber Plant Dusting Gloves

These gloves have changed my life. They have saved me at least an hour a week wiping down my leaves. They work so quickly and I would recommend these to anyone. They can be used both dry and damp. I have a pair from Fuliage, and I can’t recommend them enough.

mason jar with ball side

Mason Jars

These are great for a lot of reasons. One is that they can be used for water propagation, but this isn’t what I use mine for. Tap water can sometimes have too many minerals and can cause brown tips on some plants. Because of this, I fill my plants up with the filtered water from my fridge. However, the water from my fridge is too cold for the plants so I fill up mason jars and set them on my counter without a lid until they are room temperature. Once they are room temperature, I pour them into my watering can, and water away. These jars are the closest to the ones I have.

Pest Management

neem oil now

Homemade Insecticide

Like I mentioned above, I use this on a very regular basis. A lot of pests are hard to see with the naked eye until they are a problem, so I will use my homemade insecticide on my plants while wiping my plants leaves. I either spray the plant itself or spray a bit of paper towel so it is damp and wipe the leaves. If I have pests, I also use the homemade insecticide to kill them. The recipe I use is (1 spray bottle, 1 tbsp dish soap—not dish detergent, filtered water, 1 tsp neem oil). I prefer using a homemade insecticide because I can be a bit sensitive to chemicals, and certain pests can build up a tolerance to manufactured insecticide

Yellow Sticky Traps

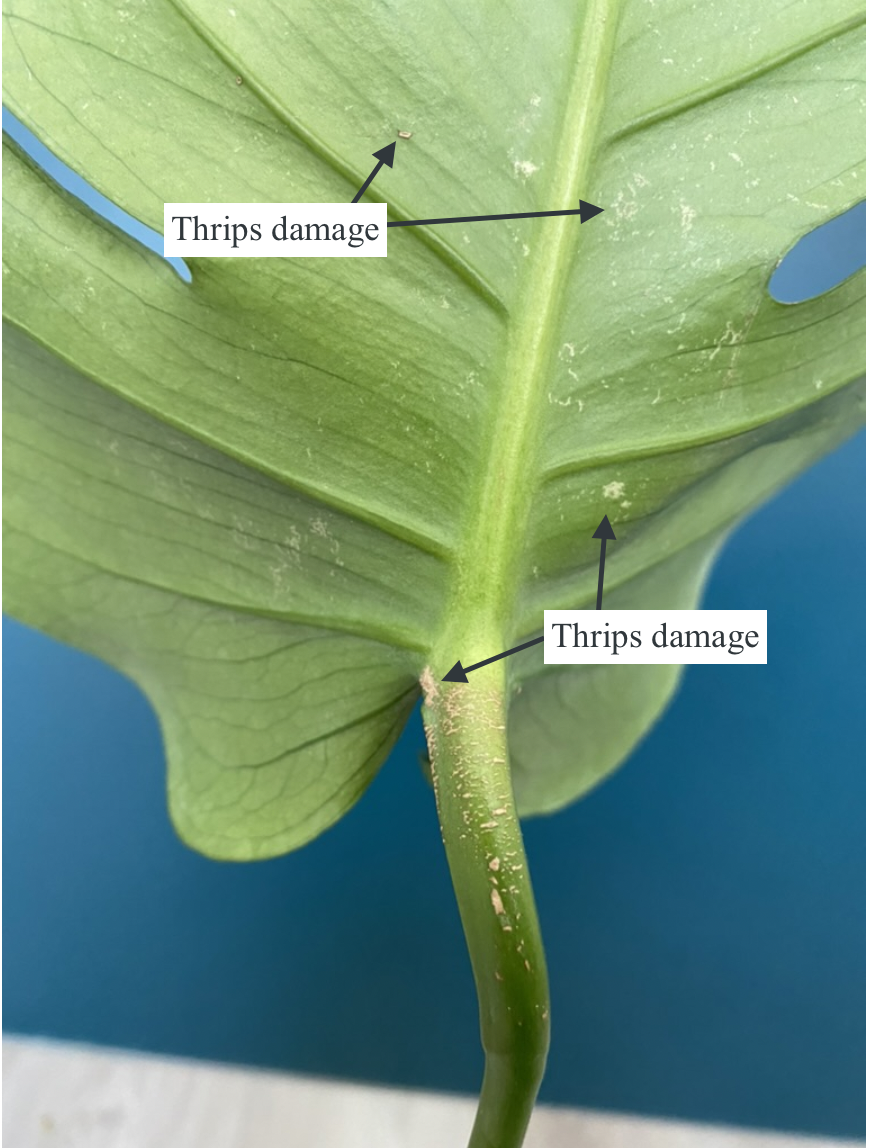
I recently started using yellow sticky traps. I heard they could help with a certain stage of thrips, and I was hoping to break the cycle. I was shocked at how well these work when I saw a lot of little ones on one of the traps on my plant. I haven’t seen as many since. These are good at catching not only thrips, but other flying insects like fungus gnats, fruit flies, etc. 

bounce dryer sheets

Dryer Sheets

When I was looking how to get rid of fungus gnats, one of the ways that was suggested online was dryer sheets. Fungus gnats are attracted to moist environments. If you put your dryer sheets on top of the top layer of soil of the impacted plant, the gnats won’t be drawn to that plant. I found combining the dryer sheets and the homemade insecticide, very effective in getting rid of fungus gnats quickly.

lint roller scotch brite

Lint Roller

I learned about this on TikiTok. If you think your plant has thrips, and it has thicker foliage (and isn’t a new leaf), you can try and lint roll the leaf. TikTok said this would potentially remove any thrips or eggs that you can’t see. I’m on the fence with this method since thrips lay their eggs in the tissue of the plant. I believe you can pick up the ones on the surface, but that’s it. I have done this method before and damaged the foliage on a newer leaf. When I tried this method, I followed it with the steps in my method above.

However, I have used this to clean the foliage of my velvet plants. I find it works the best. Just don’t do this on a new leaf.

q-tips

Q-Tips

Thankfully I have not experienced mealy bugs or scale, but typically you would get rid of them using a q-tip or cotton swab with a bit of Isopropyl alcohol.

Isopropyl Alcohol

Isopropyl Alcohol, 99%

Like I mentioned above, if you have mealy bugs or scale you would use Isopropyl Alcohol and a cotton swab to remove them.

Plant Growth: Repotting, Propagation, Nutrition, Support

Soil / Potting Mix

Depending on the plant, you will need different soils. I currently use this potting mix. It is my favourite one I have used so far. I look for soils that use coco coir instead of moss due to environmental impacts. I learned about how important moss is in a botany course I took through Wondrium, and haven’t used moss based soils since. 

I also will add perlite to my soil mixes for drainage. For repotting my orchid I used this orchid bark. For starting seedlings that I either propagated or put outdoors, I used this soil

MIRACLE GRO PERLITE BAG

Perlite

To improve drainage, and reduce the likelihood of root rot, I will add perlite to my potting mixes. Perlite is a volcanic rock. By having items like perlite on hand, you have the flexibility to adjust how well-draining your potting mix is. I add additional perlite to all mixes, just the amount of perlite in the mix may vary.  

miracle gro seed starting potting mix

Seed Starting Soil

I initially bought seed starting soil when I was starting a balcony vegetable garden from seed. However, I have started to use this for plant propagation in soil. Everything seems to root and grow in just a couple of days.

Orchid Bark

Orchid Bark

I’m not a fan of moss as it isn’t a sustainable medium for the environment, so I use orchid bark for my orchid. I recently bought this one and my Orchid seems quite happy.

ROOTING HORMONE

Rooting Hormone

I originally bought rooting hormone for cuttings from my old Prickly Pear Cactus. I don’t use this anymore as I trust the cutting will root in the soil. 

potting mat

Potting Mat

If you do a lot of repotting on the ground or just want to keep your surfaces clean, a potting mat is great for this.

3 garden tools

Garden Tools

I use a combination of garden toolstablespoons and measuring cups. These tools are great for repotting and my balcony planters. Depending on the planter size I use tablespoons and measuring cups because I find it easier. 

Coco Coir Poles

Coco Coir Poles

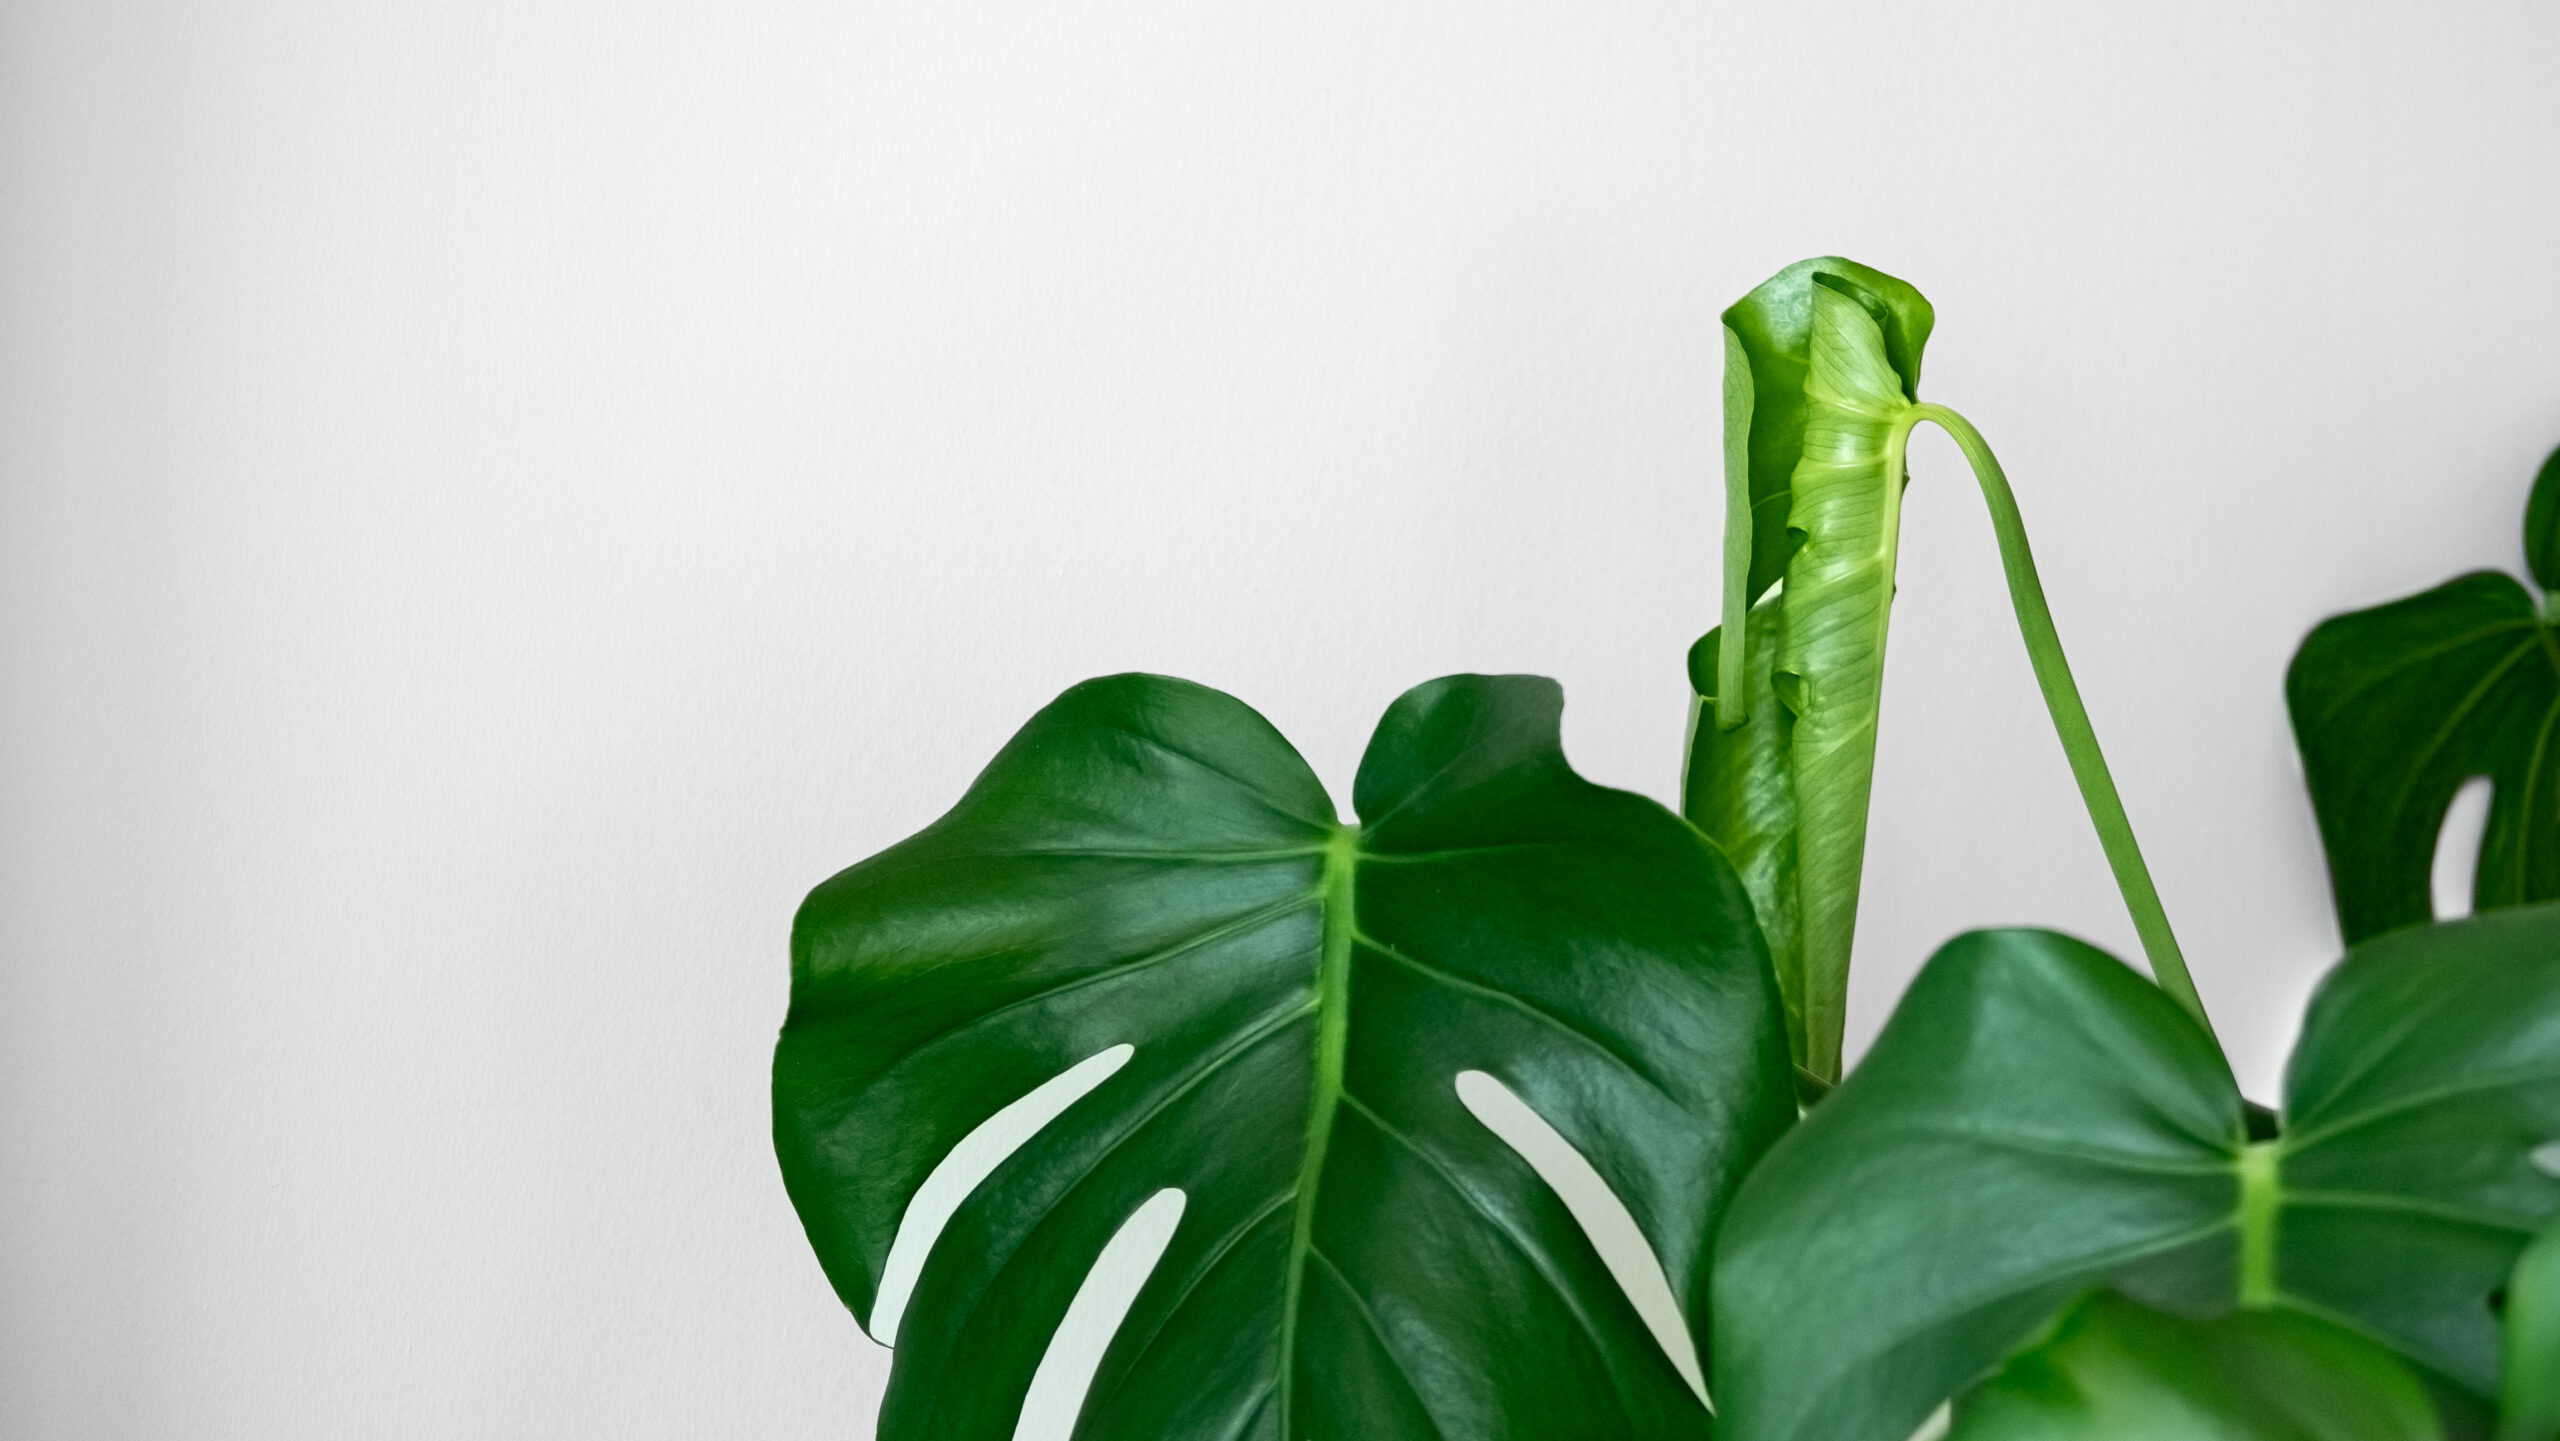
I use coco coir poles to support my two Monstera Deliciosa. Without these poles, they would grow all over the place and maybe fall over. They make great large plant support. Some people use moss poles, but I don’t due to the amount of moss required.

Plant Stakes

Plant Stakes

In the same support category, I use plant stakes to support my Alocaisa Cuprea and my Orchid. They are good for plants in more of the 6″ pot category. A coco coir pole would be a bit too big.

Bamboo Chopsticks

Chopsticks

I ended up buying a massive bag of wooden chopsticks to use for plant supports. This has been super useful to have on hand in a pinch.  

Toothpicks

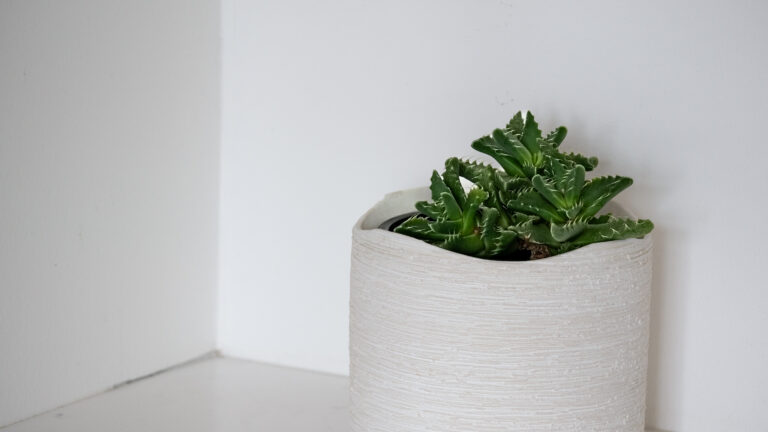
For smaller plants like my Tiger’s Jaw Succulent, I have used toothpicks for support. Other supports looked too big so these worked perfectly. 

Plant Velcro

Plant Velcro

To tie the plant around a plant stake, chopsticks, or coir pole, I will use this plant velcro. I have found this the most successful way to secure my plants to their respective stakes without hurting the plant.

clear nursing pots in various sizes

Nursing Pots

Nursing pots are great. If you want to use decorative pots with no drainage holes, you can pot your plant in a nursing pot and put this inside of a decorative pot with no drainage. Drainage is really important to avoid issues like root rot or pests like fungus gnats.

POT WITH DRAINAGE

Pots with Drainage

For some plants, it’s difficult to find the right size nursing pot, but you might be able to find a decorative pot in the right size. Like I mentioned above, drainage in pots is really important. This is probably the number one thing I would recommend to new plant parents. It’s the easiest way to prevent these common mistakes. I have used this one for smaller plants, and this one for a bigger plant

Propagation Station

I happen to have a really nice one that I got in a plant shop in a small town years ago, but if I were to buy another one now, this is is the propagation station I would buy (I might still). I really love watching new roots grow in. Water propagation is my favourite. 

mixing bowl

Bowls

During my repot, I usually pull out some mixing bowls. Usually just one to remove the old dirt, from the plant/set the plant in while I grab while I put new soil in the pot. Sometimes I mix the potting mix and perlite together in a different mixing bowl, but usually I just use a tall tupperware container. 

COMPOST BAGS

Compost Bags & Bin

I love composting. Why throw things in the trash when you can compost them and give back to the earth? I always use compost bags during my repot. I often put them in my compost bin. Since I keep my compost bin on the counter, I wanted an aesthetic one. 

DUST PAN

Dust Pan

After repotting 30 plants last summer, I started to realize it was quicker for me to just sweep the dirt off my counter into the dust pan. Although, if you use a potting mat, maybe you don’t need to do this.

VACUUM

Vacuum

I make a HUGE mess during repotting. In my videos, you don’t see the floor, but trust me, it’s a mess and no one wants to walk through dirt. I much rather vacuum than sweep. I also feels it picks up the little pieces of dirt better. I use an old Dyson stick vac that they don’t make anymore, but this is a newer version of it.

SHAKE N FEED FERTILIZER

Fertilizer

Fertilizing is really important. It’s like vitamins or really nutrients for your plant. This is important in growing a strong, healthy plant. I’ve only used an all purpose fertilizer, but I know some people prefer liquid. It’s best to fertilize at the start of growing season, with a slow release fertilizer

Gardening Gloves

When repotting sharp plants, it is essential to have thick gloves. My preference is leather as I have found cactus needles will stick and potentially puncture suede and other softer materials. The gloves that I have are unfortunately sold out, but these gloves seem like a good alternative and have a lot of reviews. 

Vacation Care: Setting Up Automated Systems

Rope & Water Jar Method

The jar of water and rope method was the first method I ever did. The theory is that you put one end of rope in a jar/glass/vase/vessel of water and the other end you submerge in the soil. The plant then pulls the water through the rope and into its root system. 

I tried this method twice over a two weeks period in different seasons (end-of-winter and early-fall). It did work. None of plants died over this period, and honestly some looked even better (probably because they were as moist as they desired). On the first trip this was no problem, but on the second trip some of the ropes started to look questionable so I decided to try a different model in the future. I do still recommend this method though, and it’s a great starting point.

Why this method is great: you can just leave the plants alone and trust they will likely be fine. I would still recommend having a plant-sitter come in after the first week and check that each plant still has water in its jar and make sure none of the ropes fell out. I love this method because you don’t have to worry about your plant-sitter overwatering your plant. This is basically how you bottom water while on vacation. 

What you will needcotton ropea lot of little mason jars & water


irrigation system amazon

Irrigation System

This is my current method, combined with the watering globes. For any plants that are close together, and of basically the same sized pots, you can set up an irrigation system (this link does a great job explaining how this works in the images).

Why this method is great: the irrigation system can be programmed by how often you want the plants to be watered and by how much. If you have a larger plant in the mix, you can put multiple pegs in the soil so you don’t drown any plants. Having pots with drainage is super important for this one. Otherwise you may drown your plant. I would always program this based off of the amount of water your smallest plant will need. I recommend testing this out before you go on vacation so you can monitor and determine if you need to fix anything. Also you likely only need someone to make sure these plants look okay, and if the bucket of water is out to refill it.

What you will need: this irrigation system and a bucket of water.

WATERING GLOBES

Watering Globes

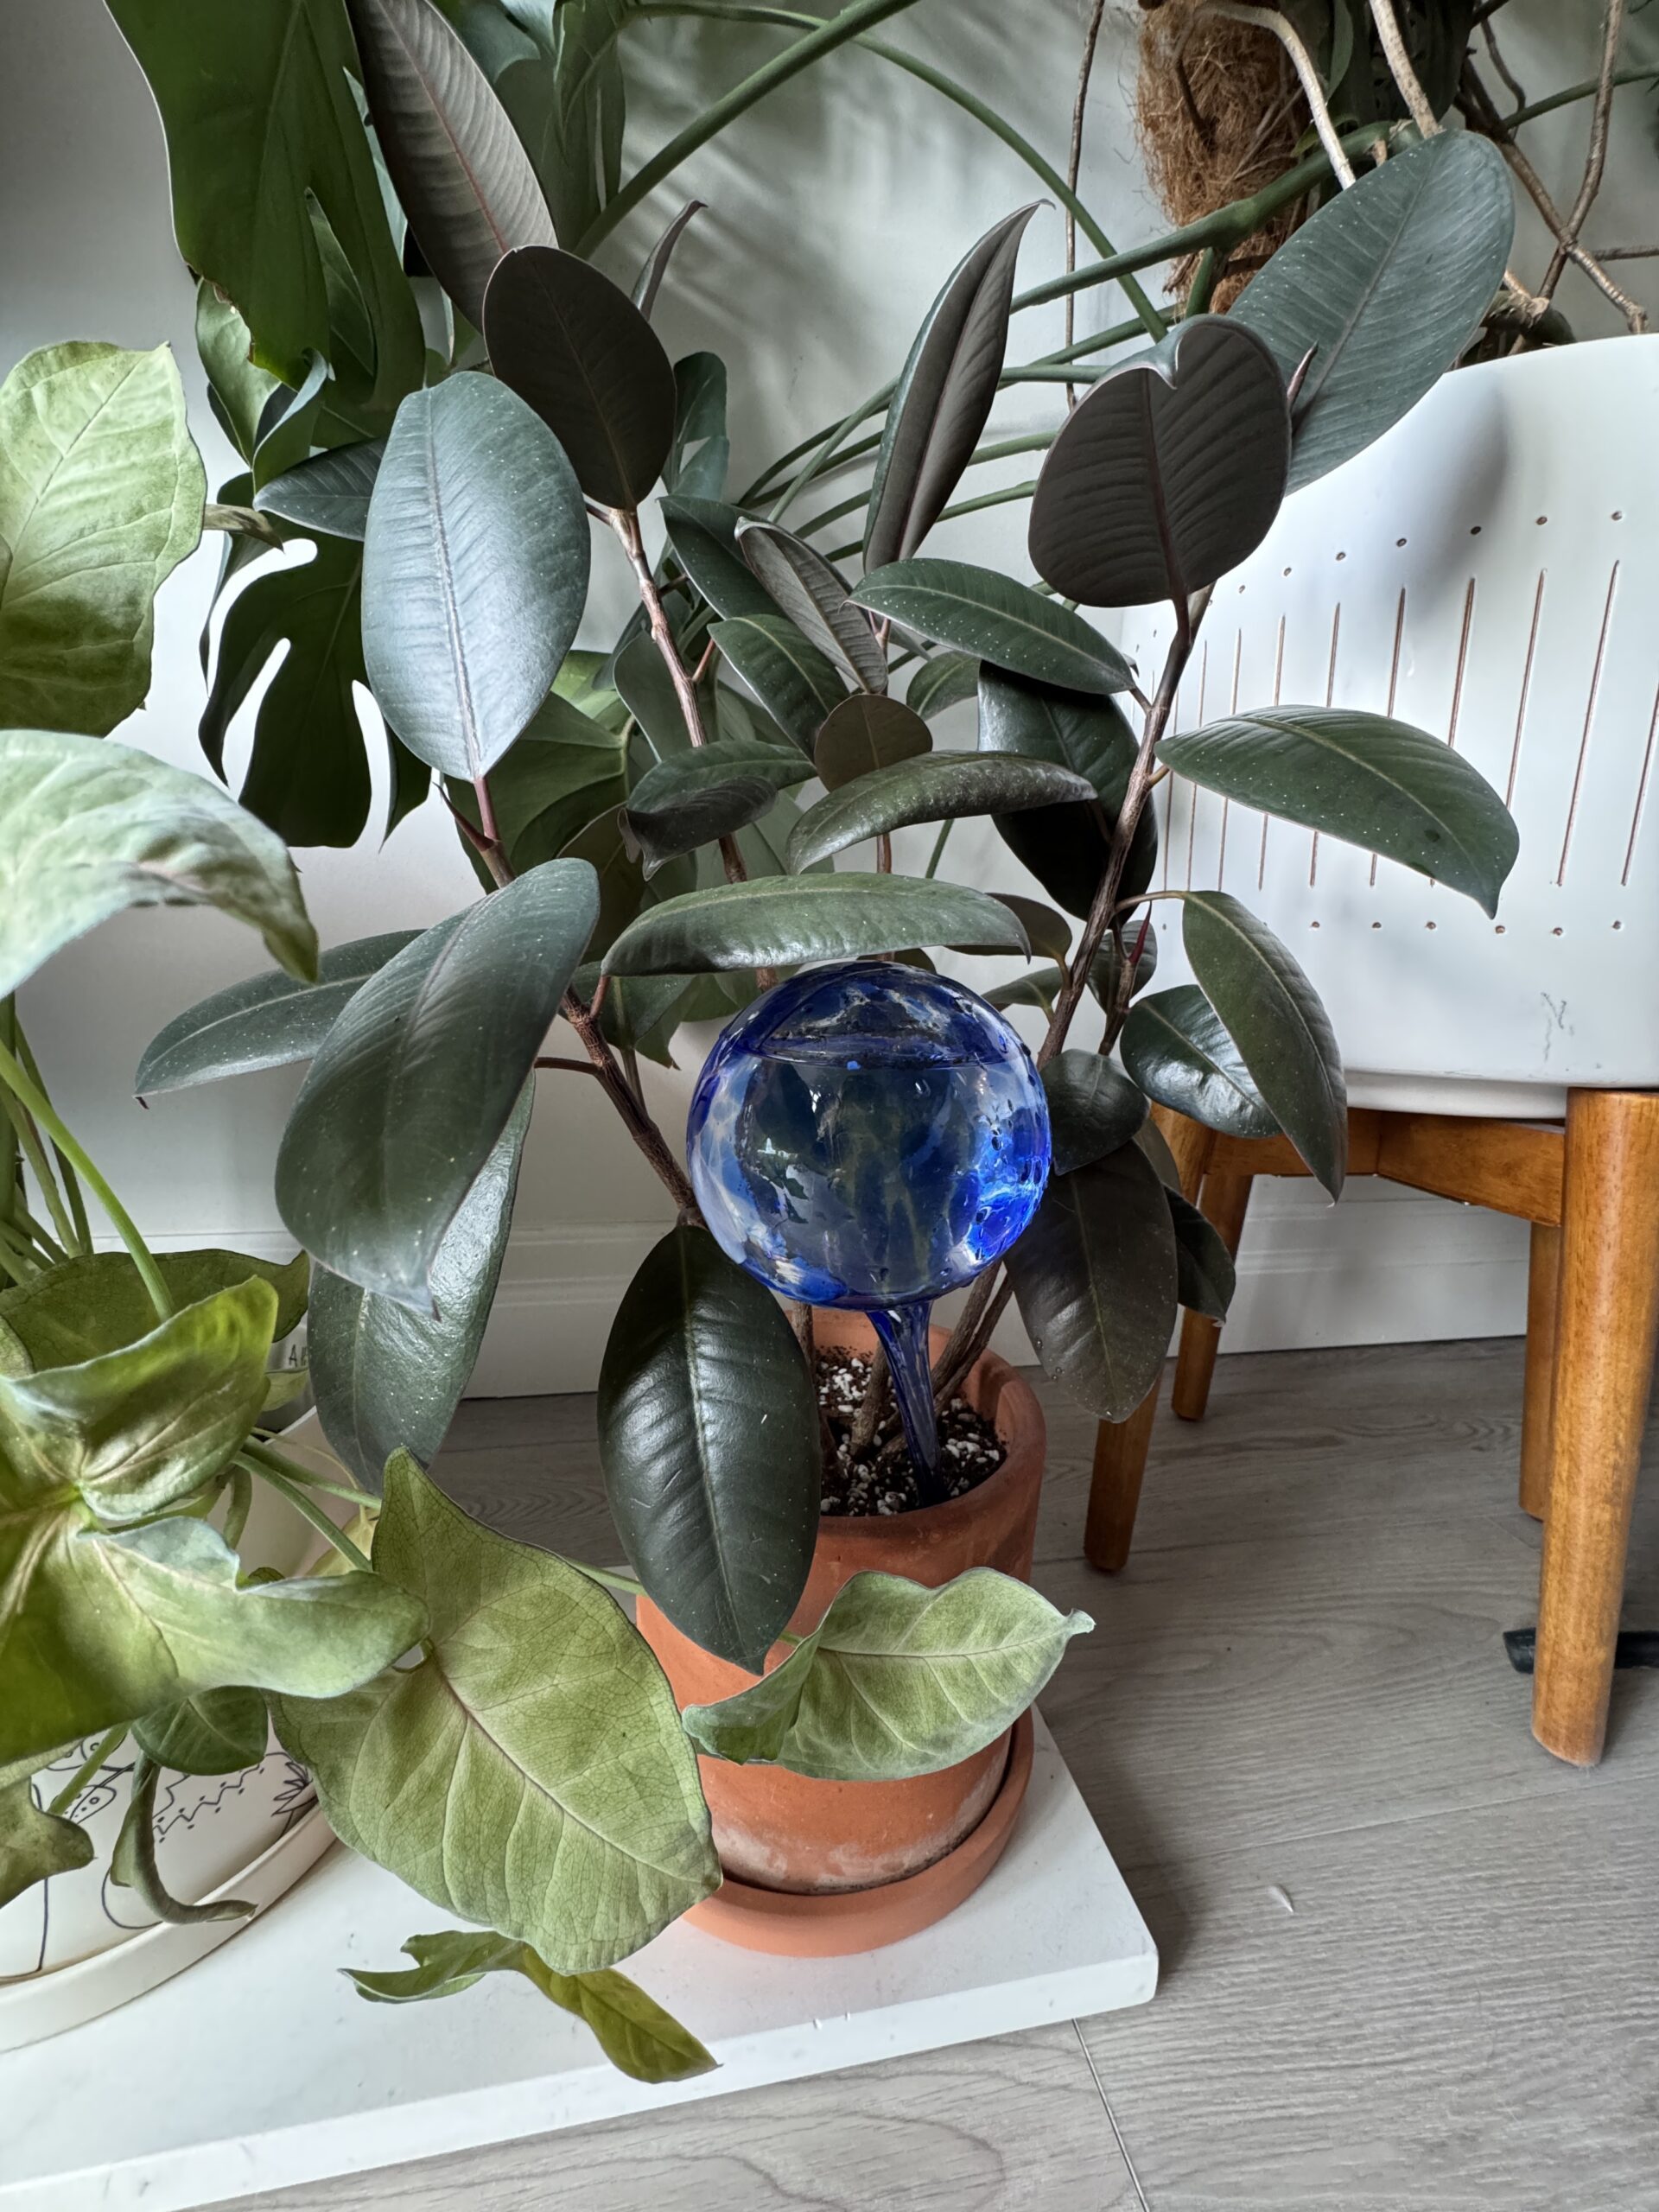
Like I mentioned above, the irrigation system is great for plants close together and of a similar pot size. For all other plants I use watering globes. For some of my massive plants I double up on the plant in the pot.

Why this method is great: similar to the rope and water jar method, the plant will pull water from the globes when they need it. The average size of the globes are too big for plants in pots smaller than 4″ I would say. For me, those plants are just succulents so I give them a big watering before I leave and they have been fine for up to a month (with someone coming to fill up any globes that are empty). If I had 50 watering globes, this would be costly which is also why I like pairing these with the irrigation system.

What you will needwatering globes

LEVOIT HUMIDIFIER

Humidifiers

If you are going on vacation and have tropical plants, you will need a large humidifier. You will want one with high capacity that you can set the humidity level. 

I have 3 different humidifiers: my main one in the living room for the majority of my plants (and largest capacity), a smaller one in the bedroom, and a desktop one for more localized humidity.

I like Levoit humidifiers and air purifiers. Since I bought my first Levoit humidifier, I haven’t turned back, and then bought more Levoit products. I like Levoits humidifers because they show me the percentage of humidity in my space and allow me to set my humidity level. It also autoturns on if the humidity is too low. They also last a long time. I had a couple of humidifiers from other brands that only lasted a year. I’m currently on year 3 with my main one.  

My Favourite Plant Books

PLANTOPEDIA BOOK COVER

Plantopedia

This must be the most beautiful book I own. It provides a great overview of each genus, and profiles of some of the most common species within that genus. 

Wild Interiors

Hilton Carter maybe single-handedly inspired me to get into plant designing my home. The text on the cover of Wild Interiors explains the essence of this book well: beautiful plants in beautiful spaces. 

I love bringing living elements into the space. It makes me feel as if I am bringing the outdoors in. This is the first plant book to inspire me in this way (it is also the first plant book I read). This is also a super beautiful book and my #1 plant book. 

WILD CREATIONS

Wild Creations

The second book I read by Hilton Carter is called Wild Creations. I enjoyed this book as it brought in the plant care tips and styling tips in the first one, but it also instructs you on how to create some practical, yet beautiful plant designs (e.g. mounting a staghorn fern, creating a concrete pot, creating a base tray, etc.).

Living Wild Book Cover

Living Wild

The third book I read by Hilton Carter is called Living Wild. This book reinspired my love for plants and interior design. Highly recommend this book.

YOU GROW, GURL book

You Grow, Gurl!: Plant Kween's Lush Guide to Growing Your Garden

I also really enjoyed You Grow, Gurl! This is by Christopher Griffin (@plantkween) and goes through plant profiles/care tips, their own journey with plants, and how to be more mindful. 

I like Levoit humidifiers and air purifiers. Since I bought my first Levoit humidifier, I haven’t turned back, and then bought more Levoit products. I like Levoits humidifers because they show me the percentage of humidity in my space and allow me to set my humidity level. It also autoturns on if the humidity is too low. They also last a long time. I had a couple of humidifiers from other brands that only lasted a year. I’m currently on year 3 with my main one.  

pruning shears red

Pruning Shears

For my larger plants, I use pruning shears to cut off any yellowing leaves, or leaves infected by pests. For my smaller plants, I just use some clean kitchen scissors as the shears are too big. For thick stems, you definitely want a pair of shears. I’ve also had these shears for three years with no problems. You can see me use shears in this video.

kitchen scissors black and orange

Kitchen Scissors

Like I mentioned above, for my smaller plants, I use some clean kitchen scissors as the shears are too big. I use the scissors that came with my knife block, but if you are buying them just for this purpose, I would buy these ones. You can see me using scissors in this video.

neem oil now

Homemade Insecticide

I use this on a very regular basis. A lot of pests are hard to see with the naked eye until they are a problem, so I will use my homemade insecticide on my plants while wiping my plants leaves. I either spray the plant itself or spray a bit of paper towel so it is damp and wipe the leaves. If I have pests, I also use the homemade insecticide to kill them. The recipe I use is (1 spray bottle, 1 tbsp dish soap—not dish detergent, filtered water, 1 tsp neem oil). I prefer using a homemade insecticide because I can be a bit sensitive to chemicals, and certain pests can build up a tolerance to manufactured insecticide

microfiber plant dusting gloves

Microfiber Plant Dusting Gloves

These gloves have changed my life. They have saved me at least an hour a week wiping down my leaves. They work so quickly and I would recommend these to anyone. They can be used both dry and damp. I have a pair from Fuliage, and I can’t recommend them enough.

mason jar with ball side

Mason Jars

These are great for a lot of reasons. One is that they can be used for water propagation, but this isn’t what I use mine for. Tap water can sometimes have too many minerals and can cause brown tips on some plants. Because of this, I fill my plants up with the filtered water from my fridge. However, the water from my fridge is too cold for the plants so I fill up mason jars and set them on my counter without a lid until they are room temperature. Once they are room temperature, I pour them into my watering can, and water away. These jars are the closest to the ones I have.

Pest Management

neem oil now

Homemade Insecticide

Like I mentioned above, I use this on a very regular basis. A lot of pests are hard to see with the naked eye until they are a problem, so I will use my homemade insecticide on my plants while wiping my plants leaves. I either spray the plant itself or spray a bit of paper towel so it is damp and wipe the leaves. If I have pests, I also use the homemade insecticide to kill them. The recipe I use is (1 spray bottle, 1 tbsp dish soap—not dish detergent, filtered water, 1 tsp neem oil). I prefer using a homemade insecticide because I can be a bit sensitive to chemicals, and certain pests can build up a tolerance to manufactured insecticide

Yellow Sticky Traps

I recently started using yellow sticky traps. I heard they could help with a certain stage of thrips, and I was hoping to break the cycle. I was shocked at how well these work when I saw a lot of little ones on one of the traps on my plant. I haven’t seen as many since. These are good at catching not only thrips, but other flying insects like fungus gnats, fruit flies, etc. 

bounce dryer sheets

Dryer Sheets

When I was looking how to get rid of fungus gnats, one of the ways that was suggested online was dryer sheets. Fungus gnats are attracted to moist environments. If you put your dryer sheets on top of the top layer of soil of the impacted plant, the gnats won’t be drawn to that plant. I found combining the dryer sheets and the homemade insecticide, very effective in getting rid of fungus gnats quickly.

lint roller scotch brite

Lint Roller

I learned about this on TikiTok. If you think your plant has thrips, and it has thicker foliage (and isn’t a new leaf), you can try and lint roll the leaf. TikTok said this would potentially remove any thrips or eggs that you can’t see. I’m on the fence with this method since thrips lay their eggs in the tissue of the plant. I believe you can pick up the ones on the surface, but that’s it. I have done this method before and damaged the foliage on a newer leaf. When I tried this method, I followed it with the steps in my method above.

However, I have used this to clean the foliage of my velvet plants. I find it works the best. Just don’t do this on a new leaf.

q-tips

Q-Tips

Thankfully I have not experienced mealy bugs or scale, but typically you would get rid of them using a q-tip or cotton swab with a bit of Isopropyl alcohol.

Isopropyl Alcohol

Isopropyl Alcohol, 99%

Like I mentioned above, if you have mealy bugs or scale you would use Isopropyl Alcohol and a cotton swab to remove them.

Plant Growth: Repotting, Propagation, Nutrition, Support

Soil / Potting Mix

Depending on the plant, you will need different soils. I currently use this potting mix. It is my favourite one I have used so far. I look for soils that use coco coir instead of moss due to environmental impacts. I learned about how important moss is in a botany course I took through Wondrium, and haven’t used moss based soils since. 

I also will add perlite to my soil mixes for drainage. For repotting my orchid I used this orchid bark. For starting seedlings that I either propagated or put outdoors, I used this soil

MIRACLE GRO PERLITE BAG

Perlite

To improve drainage, and reduce the likelihood of root rot, I will add perlite to my potting mixes. Perlite is a volcanic rock. By having items like perlite on hand, you have the flexibility to adjust how well-draining your potting mix is. I add additional perlite to all mixes, just the amount of perlite in the mix may vary.  

miracle gro seed starting potting mix

Seed Starting Soil

I initially bought seed starting soil when I was starting a balcony vegetable garden from seed. However, I have started to use this for plant propagation in soil. Everything seems to root and grow in just a couple of days.

Orchid Bark

Orchid Bark

I’m not a fan of moss as it isn’t a sustainable medium for the environment, so I use orchid bark for my orchid. I recently bought this one and my Orchid seems quite happy.

ROOTING HORMONE

Rooting Hormone

I originally bought rooting hormone for cuttings from my old Prickly Pear Cactus. I don’t use this anymore as I trust the cutting will root in the soil. 

potting mat

Potting Mat

If you do a lot of repotting on the ground or just want to keep your surfaces clean, a potting mat is great for this.

3 garden tools

Garden Tools

I use a combination of garden toolstablespoons and measuring cups. These tools are great for repotting and my balcony planters. Depending on the planter size I use tablespoons and measuring cups because I find it easier. 

Coco Coir Poles

Coco Coir Poles

I use coco coir poles to support my two Monstera Deliciosa. Without these poles, they would grow all over the place and maybe fall over. They make great large plant support. Some people use moss poles, but I don’t due to the amount of moss required.

Plant Stakes

Plant Stakes

In the same support category, I use plant stakes to support my Alocaisa Cuprea and my Orchid. They are good for plants in more of the 6″ pot category. A coco coir pole would be a bit too big.

Bamboo Chopsticks

Chopsticks

I ended up buying a massive bag of wooden chopsticks to use for plant supports. This has been super useful to have on hand in a pinch.  

Toothpicks

For smaller plants like my Tiger’s Jaw Succulent, I have used toothpicks for support. Other supports looked too big so these worked perfectly. 

Plant Velcro

Plant Velcro

To tie the plant around a plant stake, chopsticks, or coir pole, I will use this plant velcro. I have found this the most successful way to secure my plants to their respective stakes without hurting the plant.

clear nursing pots in various sizes

Nursing Pots

Nursing pots are great. If you want to use decorative pots with no drainage holes, you can pot your plant in a nursing pot and put this inside of a decorative pot with no drainage. Drainage is really important to avoid issues like root rot or pests like fungus gnats.

POT WITH DRAINAGE

Pots with Drainage

For some plants, it’s difficult to find the right size nursing pot, but you might be able to find a decorative pot in the right size. Like I mentioned above, drainage in pots is really important. This is probably the number one thing I would recommend to new plant parents. It’s the easiest way to prevent these common mistakes. I have used this one for smaller plants, and this one for a bigger plant

Propagation Station

I happen to have a really nice one that I got in a plant shop in a small town years ago, but if I were to buy another one now, this is is the propagation station I would buy (I might still). I really love watching new roots grow in. Water propagation is my favourite. 

mixing bowl

Bowls

During my repot, I usually pull out some mixing bowls. Usually just one to remove the old dirt, from the plant/set the plant in while I grab while I put new soil in the pot. Sometimes I mix the potting mix and perlite together in a different mixing bowl, but usually I just use a tall tupperware container. 

COMPOST BAGS

Compost Bags & Bin

I love composting. Why throw things in the trash when you can compost them and give back to the earth? I always use compost bags during my repot. I often put them in my compost bin. Since I keep my compost bin on the counter, I wanted an aesthetic one. 

DUST PAN

Dust Pan

After repotting 30 plants last summer, I started to realize it was quicker for me to just sweep the dirt off my counter into the dust pan. Although, if you use a potting mat, maybe you don’t need to do this.

VACUUM

Vacuum

I make a HUGE mess during repotting. In my videos, you don’t see the floor, but trust me, it’s a mess and no one wants to walk through dirt. I much rather vacuum than sweep. I also feels it picks up the little pieces of dirt better. I use an old Dyson stick vac that they don’t make anymore, but this is a newer version of it.

SHAKE N FEED FERTILIZER

Fertilizer

Fertilizing is really important. It’s like vitamins or really nutrients for your plant. This is important in growing a strong, healthy plant. I’ve only used an all purpose fertilizer, but I know some people prefer liquid. It’s best to fertilize at the start of growing season, with a slow release fertilizer

Gardening Gloves

When repotting sharp plants, it is essential to have thick gloves. My preference is leather as I have found cactus needles will stick and potentially puncture suede and other softer materials. The gloves that I have are unfortunately sold out, but these gloves seem like a good alternative and have a lot of reviews. 

Vacation Care: Setting Up Automated Systems

Rope & Water Jar Method

The jar of water and rope method was the first method I ever did. The theory is that you put one end of rope in a jar/glass/vase/vessel of water and the other end you submerge in the soil. The plant then pulls the water through the rope and into its root system. 

I tried this method twice over a two weeks period in different seasons (end-of-winter and early-fall). It did work. None of plants died over this period, and honestly some looked even better (probably because they were as moist as they desired). On the first trip this was no problem, but on the second trip some of the ropes started to look questionable so I decided to try a different model in the future. I do still recommend this method though, and it’s a great starting point.

Why this method is great: you can just leave the plants alone and trust they will likely be fine. I would still recommend having a plant-sitter come in after the first week and check that each plant still has water in its jar and make sure none of the ropes fell out. I love this method because you don’t have to worry about your plant-sitter overwatering your plant. This is basically how you bottom water while on vacation. 

What you will needcotton ropea lot of little mason jars & water


irrigation system amazon

Irrigation System

This is my current method, combined with the watering globes. For any plants that are close together, and of basically the same sized pots, you can set up an irrigation system (this link does a great job explaining how this works in the images).

Why this method is great: the irrigation system can be programmed by how often you want the plants to be watered and by how much. If you have a larger plant in the mix, you can put multiple pegs in the soil so you don’t drown any plants. Having pots with drainage is super important for this one. Otherwise you may drown your plant. I would always program this based off of the amount of water your smallest plant will need. I recommend testing this out before you go on vacation so you can monitor and determine if you need to fix anything. Also you likely only need someone to make sure these plants look okay, and if the bucket of water is out to refill it.

What you will need: this irrigation system and a bucket of water.

WATERING GLOBES

Watering Globes

Like I mentioned above, the irrigation system is great for plants close together and of a similar pot size. For all other plants I use watering globes. For some of my massive plants I double up on the plant in the pot.

Why this method is great: similar to the rope and water jar method, the plant will pull water from the globes when they need it. The average size of the globes are too big for plants in pots smaller than 4″ I would say. For me, those plants are just succulents so I give them a big watering before I leave and they have been fine for up to a month (with someone coming to fill up any globes that are empty). If I had 50 watering globes, this would be costly which is also why I like pairing these with the irrigation system.

What you will needwatering globes

LEVOIT HUMIDIFIER

Humidifiers

If you are going on vacation and have tropical plants, you will need a large humidifier. You will want one with high capacity that you can set the humidity level. 

I have 3 different humidifiers: my main one in the living room for the majority of my plants (and largest capacity), a smaller one in the bedroom, and a desktop one for more localized humidity.

I like Levoit humidifiers and air purifiers. Since I bought my first Levoit humidifier, I haven’t turned back, and then bought more Levoit products. I like Levoits humidifers because they show me the percentage of humidity in my space and allow me to set my humidity level. It also autoturns on if the humidity is too low. They also last a long time. I had a couple of humidifiers from other brands that only lasted a year. I’m currently on year 3 with my main one.  

My Favourite Plant Books

PLANTOPEDIA BOOK COVER

Plantopedia

This must be the most beautiful book I own. It provides a great overview of each genus, and profiles of some of the most common species within that genus. 

Wild Interiors

Hilton Carter maybe single-handedly inspired me to get into plant designing my home. The text on the cover of Wild Interiors explains the essence of this book well: beautiful plants in beautiful spaces. 

I love bringing living elements into the space. It makes me feel as if I am bringing the outdoors in. This is the first plant book to inspire me in this way (it is also the first plant book I read). This is also a super beautiful book and my #1 plant book. 

WILD CREATIONS

Wild Creations

The second book I read by Hilton Carter is called Wild Creations. I enjoyed this book as it brought in the plant care tips and styling tips in the first one, but it also instructs you on how to create some practical, yet beautiful plant designs (e.g. mounting a staghorn fern, creating a concrete pot, creating a base tray, etc.).

Living Wild Book Cover

Living Wild

The third book I read by Hilton Carter is called Living Wild. This book reinspired my love for plants and interior design. Highly recommend this book.

YOU GROW, GURL book

You Grow, Gurl!: Plant Kween's Lush Guide to Growing Your Garden

I also really enjoyed You Grow, Gurl! This is by Christopher Griffin (@plantkween) and goes through plant profiles/care tips, their own journey with plants, and how to be more mindful.